
If your pruners are crushing stems instead of slicing clean, they may be overdue for sharpening and adjusting.
In this guide you will learn how to choose quality pruners. Also, recognize when your pruners need work, supplies needed to sharpen pruners, and a step-by-step guide to do it right.
Professional Hand Pruners vs. Basic Home Pruners – What’s the Difference
For a little background on pruners, hand pruners and pruning shears are the same thing. But there are two different types of pruners, bypass and anvil types. Bypass has two blades that work like scissors, while anvil has one blade that cuts into a flat base. In most folks’ opinion, bypass works better for pruning.
We use the Corona BP6250 and the Felco 2 bypass pruners. They cut branches up to 1” in diameter. There are other professional pruners that fit into this pro class, too.
Even if you aren’t a professional landscaper, buying cheap pruners is a waste of your time and money. The loose their ability to cut nicely, leaving you frustrated. Here’s the differences to watch for:
Adjustable Nut – Better Pruners
The best professional pruners, like Corona BP6250 and Felco 2, feature an adjustable nut that can be tightened and fine-tuned. But they can also be unscrewed and disassembled for blade cleaning and replacement.
On the other hand, inexpensive pruners have a locking nut, which is not meant to be taken apart. As a result, they have a short life. They aren’t as sturdy either, so their cut size is ¾” diameter, rather than 1″.
Quality Materials and Replaceable Blades
Professional pruners have high-carbon steel blades and aluminum rust-free parts.
While they often have steel blades, basic pruners use parts and springs that are not as durable. They had to cut costs somewhere, right?
Another thing to consider, only quality pruners which are built to last offer replaceable blades.
Fit and Finish
Properly adjusted blades not only can be fine-tuned for good cutting action, but they make a distinctive sound. This sound comes from the two sides of the pruner blades perfectly brushing against each other, like fine quality scissors. If there is a gap or odd angle, they won’t make that sound. As a result, the cut will be ragged at best.
Wire Cutter Feature – While hand pruners aren’t wire cutters, professional ones feature a wire cutter notch in the back of the blades.
Common Signs That Your Pruners Need Work
Owning quality pruners is a dream. Even after a season’s hard use, they are still in good shape. Make it a habit to check them over during the off season.
- Crushed stems and ragged cuts – a sign that they need sharpened
- Rust and dirt, sticking blades – a sign they need cleaned
- Too slow or too quick action – tension adjustments are needed
Supplies Needed to Keep Professional Pruners in Great Condition
Here are the Supplies We Use:

- Screw driver
- WD-40
- Steel wool
- Clean cloth
- Nicholson 6 in. Double Cut Bastard Flat file
- Whetstone
- 3-in-One machine oil
If replacement blades are needed, know your pruner’s model number to match with the correct blades.
Wrong Tools for the Job
- High speed grinder – removes too much metal
- Coarse files – leaves deep scratches
- Kitchen knife sharpener – wrong angle, wrong tool
How to Sharpen Bypass Pruners: Tested Guide
Rather watch a video? Here’s our YouTube link.
Disassembly and Cleaning
Firstly, have a clean work area to place parts as you remove them.

Unscrew the ratchet and remove the locking nut, bolts and spring.
Keep removed parts in to make reassembly easier.
Separate the top blade from the bottom anvil blade.


Wipe down blades and pieces with a clean cloth.
Use WD-40 to lightly soak dirt, then wipe.
Lastly, use steel wool to gently scrub away rust, and wipe again.

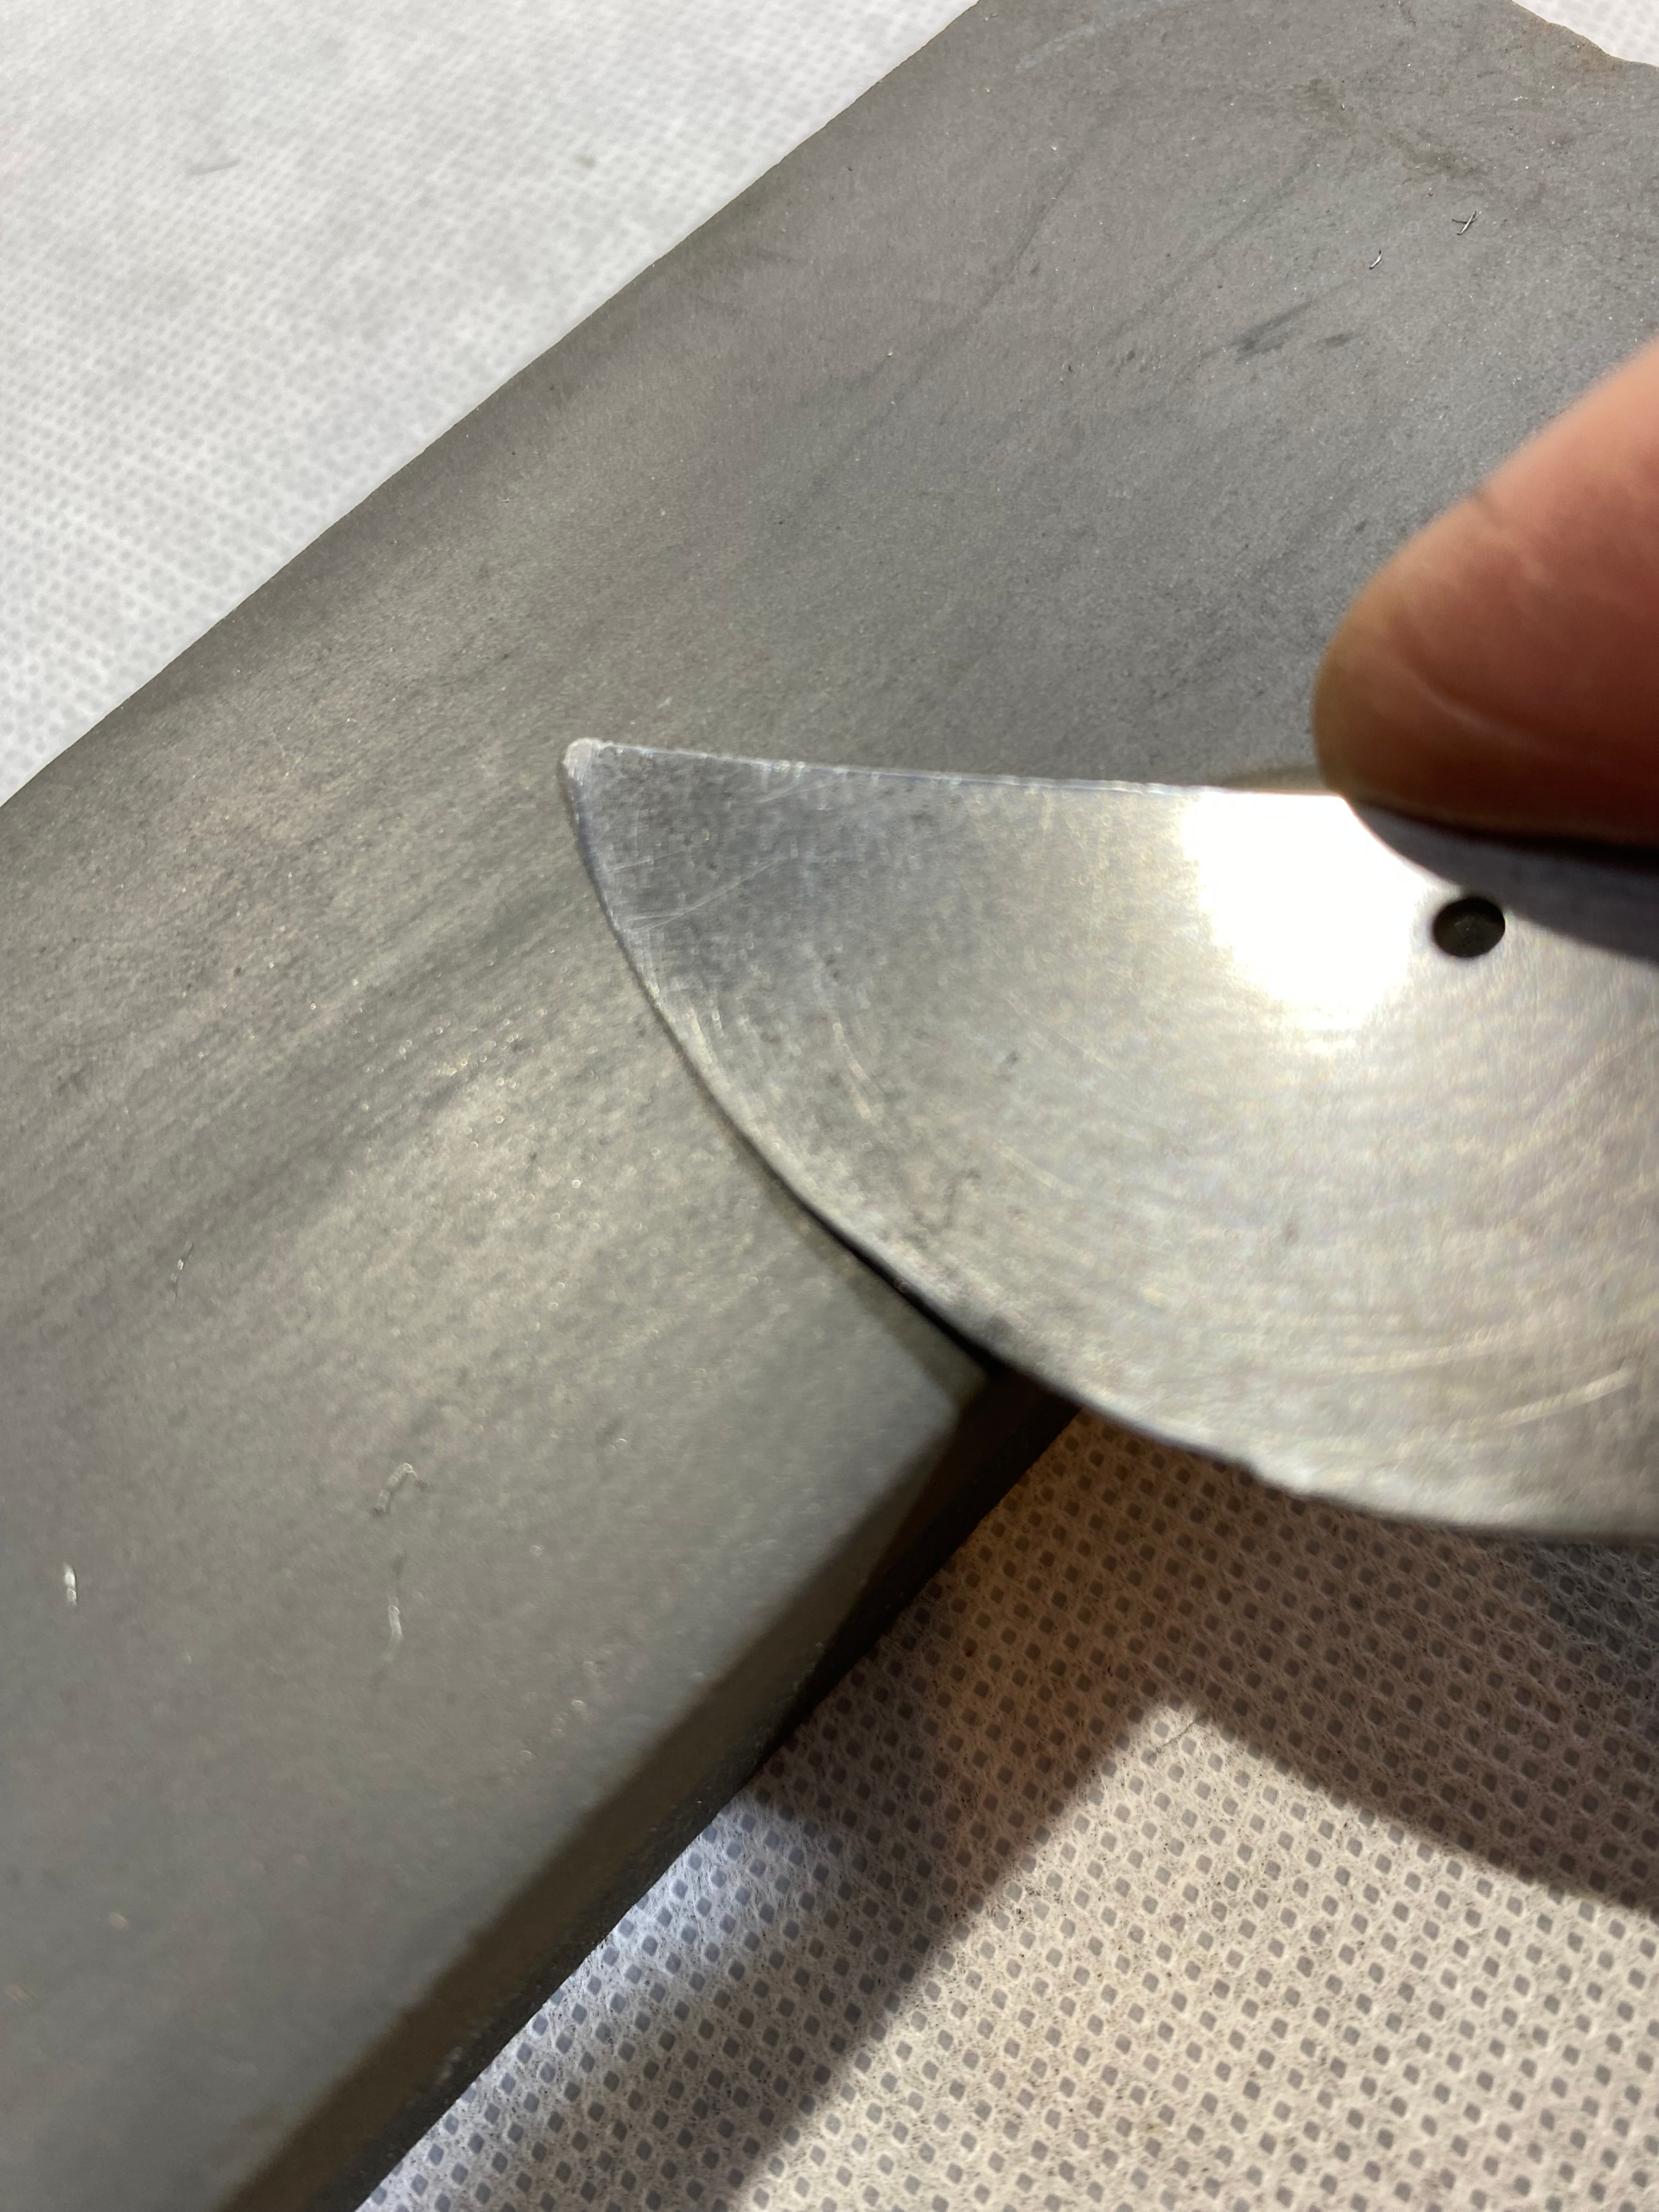
Sharpening the Blade
Time to work slowly to prevent damaging your blade.

With flat file in hand, sharpen the beveled side of the top blade, not the flat side.
Start from the back end of the blade and work your way to the tip.
Push the flat file* away from you, not toward you, which will dull the file.
Match the angle of the bevel as you go.
Remove burrs and nicks.
*If using a fine or superfine diamond file, you can pull both towards you and away from you.

Spritz water onto the coarse side of the whetstone.
Pass the beveled edge of the top blade along the whetstone to hone the blade, making a fine knife edge.
Start from the back end of the blade and work your way to the tip.
Turn the whetstone over and repeat on the fine side.
Reassemble and Lock It Down
Replace all pieces in the opposite order that they were removed.
Inspect Your Work
Look along the blade’s edge to see a consistent, smooth shine. Touch-up dull spots.
Deep rolls to the steel and serrated edges that can’t be repaired will need blade replacement.

Lubricate the blades with machine oil. A dot or two will do.
Lubricate the spring, too.
Operate the blade a few times to work the oil in.

Adjust the Blade Tension
Start by tightening the adjusting nut till the blades are a bit too stiff. Then back off the tension gradually till they operate freely but still make a good cutting sound.
Storage
After use, wipe down pruners to remove dirt and to dry them off. Store pruners in open air, like a tool shed, away from rain and moisture. Don’t store pruners in their leather sheath/holster, to prevent rust. Wet tools stored in an airtight plastic tote will also rust.
Final Recap for Positive Results
To sum up, follow these important steps:
Gather the right tools; disassemble and clean parts; remove rust; sharpen blades; reassemble; lubricate; adjust tension.
Now you’re ready to make your landscape beautiful.
DID YOU ENJOY THIS POST? MASH THAT SUBSCRIBE BUTTON.


Leave a Reply